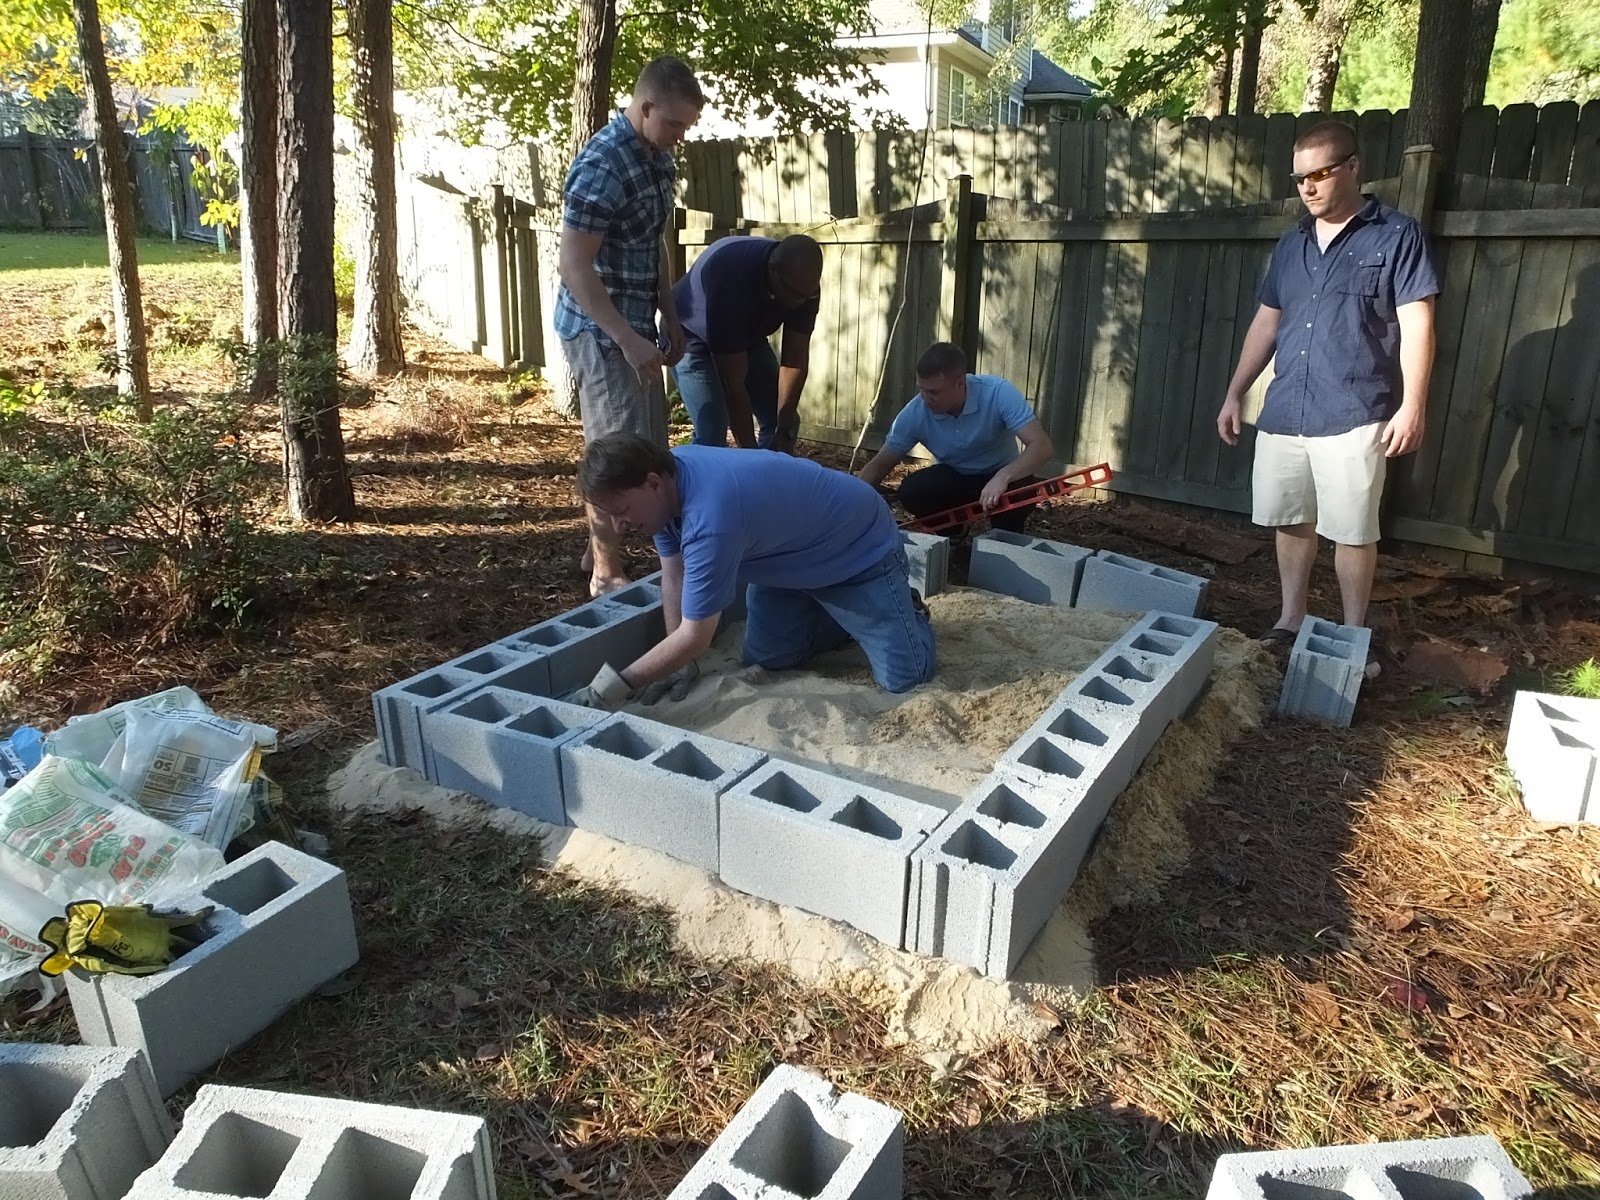
Well this was it! We built the pit during the
Lowcountry Boil we had a week ago. Ox had his crew bring cinder blocks and we paid them for their labor with the seafood and other goodies from the boil. For the whole hog barbecue, Ox and I started the pig at 2 am, and finished the day with a plethora of goodies from the Heritage book, and a bunch of homebrewed beers.


The week before that, I found out that
House of Brews was doing a charity whole hog barbecue in the same setup, so I got there before opening and watched Dave (owner of
Coast Brewing) and Robert cook the pig, helping where I could, and taking lots of notes. One of the ideas I got was to make a plywood cover, with sheet metal on the pit side for protection and heat sealing. Their pig was amazing, so I hoped what I learned would help.
Here's how it went down:

As I said earlier, the pit was mostly built the week before, and finished off the Thursday before the pig roast. That day we put in the rebar and expanded metal, and put my custom made, aluminum clad covers on. We then ran a bag of lump charcoal through the pit to make sure there were no combustibles that would add an off flavor to the pig.
Friday I picked up the 105 pound (dressed weight) pig from Winningham Meats. It didn't have head or feet, which was good for our first time, but we will probably get those next time. My neighbor, Adam, provided the wood, mostly oak and hickory, and I delivered the wood to Ox's house that day, and kept the pig in my garage.


Saturday at 2 am I was at Ox's house with the pig. We got two chimneys of natural lump charcoal going, and also started our open fire coal maker (basically a cinderblock firepit with rebar to allow the coals to drop to the bottom). We used the two chimneys of charcoal to get a head start on heating up the pit while waiting on the coals from our fire. We were using two Polder probe thermometers, one at ham level and one at shoulder level in the pit to monitor temperature. It was cold and rainy, so the chimneys only got us to 205F, when we wanted 250F. We added a third chimney, and about that time we hit 250F, and our fire was producing coals.
So now it's about 3:15, and we break open the pig (it was bagged) and start to rub it. Now Ox and I are serious backyard barbecue "experts" so we have our own rubs and sauces. We decided to do half the pig with the rub and sauce from the book, and the other half with Ox's rub and my sauce. At service we had three sauces: The paprika based
Husk BBQ sauce, my mustard based sauce, and a hot vinegar sauce that I made by basically adding everything in my kitchen that was hot to vinegar and then balancing out the flavor with honey, tomato paste, herbs and spices. Once the pig was rubbed - onto the pit, skin side up. Right about 3:30 am.
We had lost a lot of heat, and our coals were coming in a bit slow, so we stoked it back up to 250F, and decided to give it an extra hour before flipping since it wasn't at temperature for a lot of the first hour. The flip after an hour from Heritage conflicted with a lot of advice and internet information, as well as the way Dave and Robert did it at House of Brews, but after doing it myself I like Sean Brock's system. One of the reasons is that if you go most of the way on the belly, like Dave and Robert, the pig is very difficult to flip without ripping. Dave and Robert had an ingenious system for doing this, we did not. So at 5:30 we flipped, and then dropped the temp to 225F.
By now we were having no difficulty maintaining temperature. Our fire was producing tons of coals, and the pit was well warmed and held temperature well. It took no time to get up to 225F even after the flip.

Around noon, the pig was pretty much done (temperature checks with an instant read thermometer in hams and shoulders). This worried us since we weren't planning on serving until 4 pm (when the guests were told to be there.) We dropped the pit temp to about 175F and prayed.

At 1 pm we put the hash on (we got a gallon from Winningham's), as well as the baked beans. We used canned beans, flavored up with pork belly we had in the pit with the pig, and some smoked pork we had done earlier. We just dumped it together in aluminum pans and put it in the pit with the pig. Someone was supposed to bring rice, which they did.
After that, people had started arriving so we set out the
Pickled Peaches,
Pickled Mushrooms and
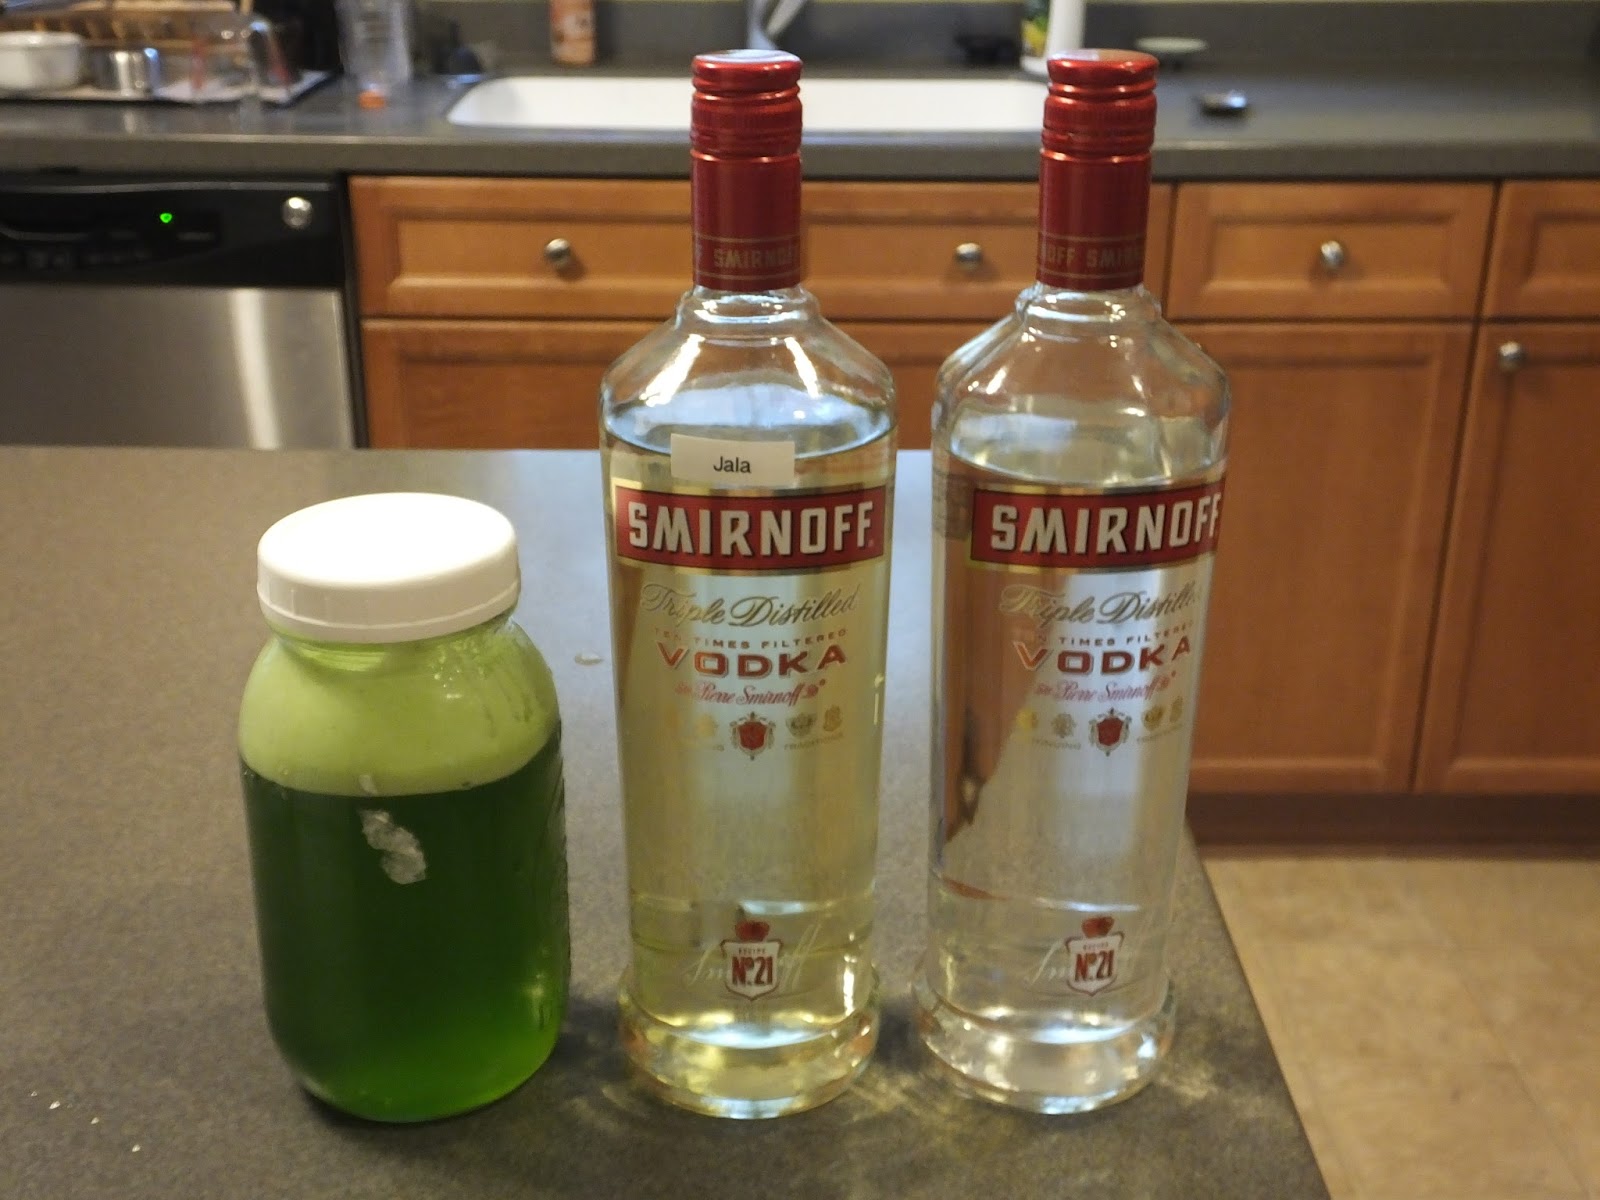
Pickled Okra. We also had a pitcher of
Southern Screwdrivers, home brewed Wit beer in bottles, and a keg of home brewed Curmudgeon Clone that was nothing like
Curmudgeon, but was excellent. There were also a lot of potluck items brought by the guests.

3 pm we went back and started breaking down the pig. This was when we knew we had done good. There was a lot of snacking. We pulled all the meat out into aluminum trays and then flavored it with a little sauce and a bit more rub. We didn't overdo the sauce since people had the three sauce choices available for their own tastes. We covered the pans with foil and waited for the rest of the guests to arrive. It only took about 20 minutes to break down, though we could have pulled the pieces smaller.

At 4 pm, we dumped the trays back into the pig skin, carefully keeping the two halves separated so people could try both kinds. In our opinion, both sides tasted great without sauce, and it was a matter of taste which one you though was best. Nobody would turn down either kind, that's for sure. We served all the hot stuff right out of the pit, and the cold stuff in the driveway from tables.

The pig was an absolute hit. People were very enthusiastic with their praises. I have to say that the mustard sauce was the preferred sauce, but not by much. Matter of taste, of course. We ended up with about fifty people, and only half the pig was eaten. That equates to our estimated 1 pound of dressed weight per person, so use that in your calculations. The leftovers have been awesome the last couple days (the pig and the Curmudgeon).
Advice:
1. Rebar can be gotten from Lowes in 10 foot lengths. It cuts relatively easily with a hacksaw, but cutting it in half turned out to be a little too long. Measure your distance so you can do fewer cuts.
2. We cut notches in the cinder blocks so the rebar would fit in and the blocks would be flush. A masonry blade on a circular saw made short work of this task.
3. I splurged for a 2 by 4 foot, and a 4 by 4 foot, 1/2 " precut plywood sheets for the cover. I could have gotten a full sheet and cut it down, but I was tired of cutting things at this point. Make sure not to get pressure treated. I used rolls of roofing aluminum to make a metal layer, and held it down with 1 by 3's and 1 by 2's I used the 1 by 3's to make the covers a little wider so it would be easier to fit on the pit opening. These made things really easy, and held the heat in nicely. Learned this one from Dave and Robert.
4. Start your pit on lump charcoal while waiting for your coal fire to start producing. This cuts an hour or two off the total time. Thanks Dave and Robert for that advice!
5. 105 pounds was a good two person pig size without a magic contraption for flipping. I wouldn't go much above 110 unless I had wire trays I could tie around the pig to hold it in place. 1 pound dressed weight per person is good for the guests if you have sides. I would get more than that for the leftovers!
6. There's going to be a period between picking up the pig and cooking it. If it's more than 2 or three hours, you are going to need a plan to keep the pig cool. You'd need a pretty big cooler to make it work, or, as I did, pile ice bags around it. Winningham said if I had given them an estimate of the time from pickup to cooking, they could have adjusted how cold they gave it to me to buy more or less time.
7. To expand on the timing in the book, our 105 pound pig took 8 and a half hours once it was on the fire. Total time from starting the process until broken down and ready to eat would have been ten hours. The pig kept just fine for 3 hours after done, so give your self some wiggle room at the end. The only downside to this is getting up earlier to start. We could have waited until 5 am to start!
8. You'll want gloves for breaking down the pig that are rubber, and thermally insulated (that f**ker's hot!)
9. We thought breaking down of the pig would take an hour, so we started early. Took less than 30 minutes (for 105 pound pig). A lot of people said they wanted to watch, but we messed that up. Time things so people can be there, and admire your whole cooked pig.
This is where we got the various materials and supplies. They all have hyperlinks, which is a good way of knowing they did good. I won't provide a link if I wouldn't recommend them.
Building Materials:
Lowes
Expanded Metal:
Colonial Kitchen Fabrication and Sheet Metal
Pig and Hash:
Winningham Meats
Cooking Supplies:
Berlins
Beer Stuff:
Beer Engineering Supply
Other:
Keegan-Fillion Farm,
Harris Teeter,
Summerville Farmer's Market
 We used the same tomatoes that we used for the Tomato Conserve, but these were another day riper. This meant I couldn't procrastinate even though I didn't feel like cooking. Good thing too, cause this stuff was good.
 It seemed like it took forever to boil the tomatoes down to "dark brown" and "very thick". I was boiling for about 32 minutes, but I took a hint from it being similar to making tomato paste, so I didn't give up until it was good and dark, and good and thick.
 This stuff tastes awesome. I'm already thinking about getting some more tomatoes and making more, because I have a LOT of ideas to use this stuff on.